The Raspberry Pi is an incredibly versatile little computer. You can turn it into a variety of different devices simply by burning a disk image onto an SD card and turning it on.
One of the most interesting things you can turn a Pi into is a games machine. In this article, we examine the two easy ways you can do that and how with very little effort you can turn your RasPi into a retro gaming workstation featuring the software PiPlay and RetroPie.
Game On
There are two ways to turn your Raspberry Pi into a retro gaming workstation, three if you count manually installing each individual emulator. That is a non-choice because although possible (although better if you have the skills), it is a convoluted and difficult process and not recommended for beginners. Fortunately for those of us not blessed with ninja Linux skills, the makers of RetroPie and PiPlay have taken all the hard toil out of the process.
You simply download and install the SD card images and off you go. Well, it’s not quite as easy as that, of course. You have to probably overclock the machine (make the processor run faster, incurring a penalty in heat and CPU life), and you have to obtain and install disk or ROM images of the games you want to play.
The first order of business is to install the emulator images.

Installing RetroPie
Go to the RetroPie home page. Download the SD disk images. Burn it with your choice of SD card image writer for your machine.
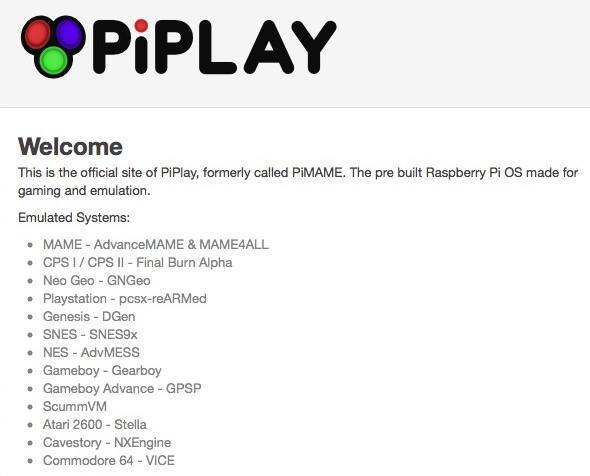
If You Prefer PiPlay
Go to the PiPlay home page. Download the SD disk images. Burn it with your choice of SD card image writer for your machine.
Try both and see which one you like best.
Before you consider the job done, it’s a good idea to overclock the processors to give you the most speed. This can be done from the command line:
sudo raspi-config
Note: seriously consider shelling out a few bucks/pounds/yen for a heatsink for the processor, as it will reduce problems caused by the extra processor load and resultant heat. Your machine will crash less and last longer.
Got Game?
Obtaining games for retro computers is easy. Just type <insert console name> ROM into Google, and you will find a wealth of sites just gagging to let you download the games.
Okay, these are copyrighted materials, and although what constitutes as fair use in the case of abandonware is a bit of a grey area, we can’t condone you downloading any and all ROM images. All we are saying is you can.
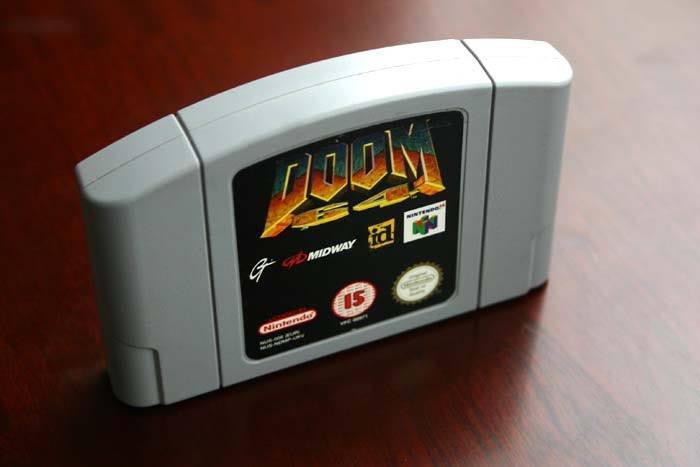
If you own the game in question on the actual retro platform, there are ways you could make a digital image of the software and upload it to the RasPi. Some people assume if they already have a copy of the game, then downloading is effectively a backup and it’s then okay, but don’t fool yourself. Software licenses will disagree.
Either way, you have to tread carefully, as a lot of these download sites are hosted by shady entities who want to obtain your sensitive data and personal information (See our article about spyware on the Mac for an example of why this is bad.).
So be very circumspect what you click on and what you say yes to. The best sites just let you click on the game image, and it downloads without you giving anything personal away. Enough said.
Installing the Games
With that knotty subject out of the way, getting games to play is relatively easy; the hard part is getting the games onto the SD card. PiPlay goes the route of having the game emulator directories exposed on the Web, so you can type in the IP address of your Pi on the network, such as 192.168.1.15, in a web browser and upload the files to the appropriate directories.
But this is a bit hit and miss as some games just flop right into their directories with no trouble, but some, like the PlayStation emulator, need to access a game image directly as if the game console was accessing a disk, and sometimes the Pi can’t see your external disks. It’s a nightmare.
Most need the files in their designated directory on the emulator boot disk. For this you need to either put the image onto a USB stick (making sure the stick is recognized by the Pi) or easiest of all copy the games directly into the directories manually. This is the recommended approach.
Tools
To do this you need:
- a Raspbian image on another SD card
- your Piplay or RetroPie SD card
- a USB hub or SD card adaptor
- a mouse and keyboard
- an HDMI monitor
Basically what you are doing is setting the Pi up as a desktop computer and using Linux’s GUI operating system to look at both disks and copy the files from one SD card to another.
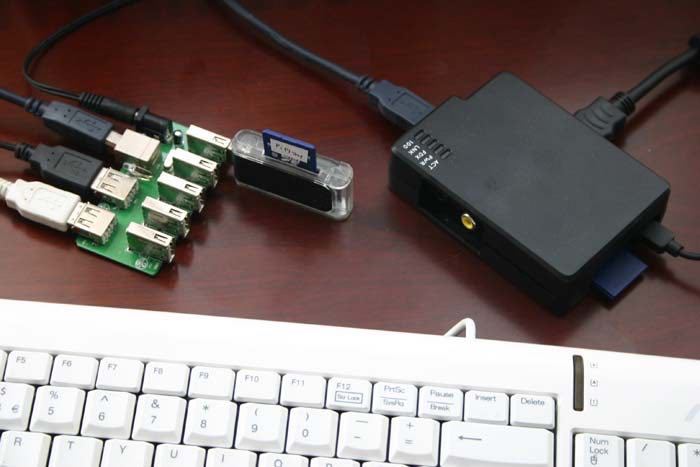
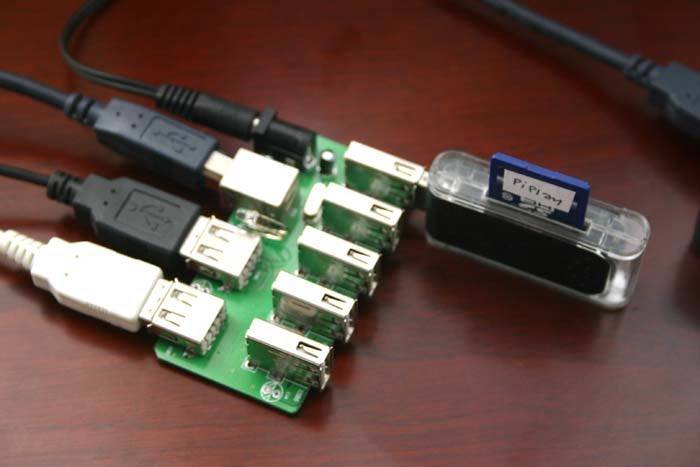
Important note: The USB hub must be powered, or it takes too much juice away from the Pi. Plus the Pi is not completely “off” if the hub is still plugged in, as the Pi leeches some of the power from the hub to keep a light on. To fully power down your Pi during this procedure you need to unplug the hub as well as the power lead.
Put the Raspbian SD into the Pi, put the PiPlay or RetroPie SD in an adapter in the USB hub, power up the Pi and then plug the hub into the Pi. This ensures you boot from the Raspbian image and not PiPlay. Sometimes having the hub plugged in and booting the Pi results in boot disk confusion and no loading.
When the Raspbian disk boots to the command prompt, log in, and when you get the prompt back, type
startx
to boot the GUI.
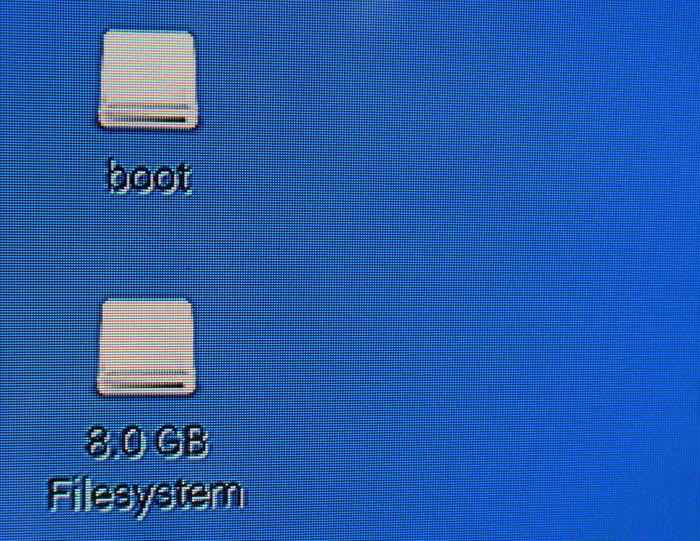
You should see the boot drive and the PiPlay/RetroPie images on the desktop. Open the emulator disk into the disk browser and look for the following directories.
On PiPlay:
/home/pi/PiMame/roms/
On RetroPie:
/home/pi/RetroPie/roms/
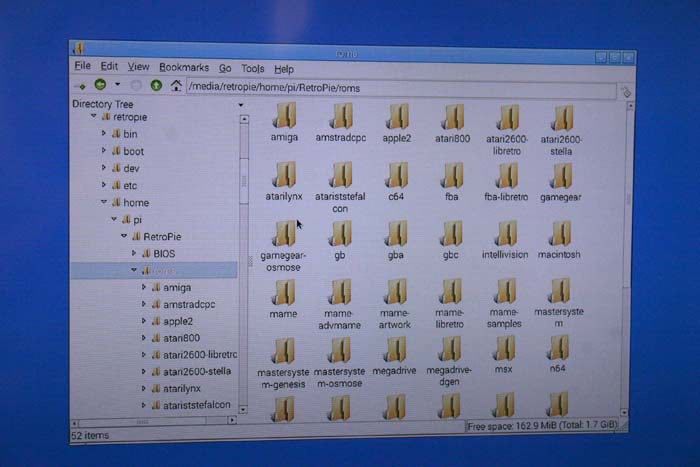
In each of these directories there is a folder for each game console supported by the system, and you put the game images for each game in the appropriate folder.
Then shut down, unplug the hub, put the emulator SD card into the Pi (don’t do that thing where you boot the Raspbian image again because you forgot to change them), and you will be presented with the games.
Find the menu to “scrape” the games, that is to say examine all the ROMs present which helps to list them in the interface.
Have you had any experience running retro games on the Pi? Let us know in the comments below.
The post Make a Raspberry Pi Into a Retro Console appeared first on Make Tech Easier.
![]()


No Comments