


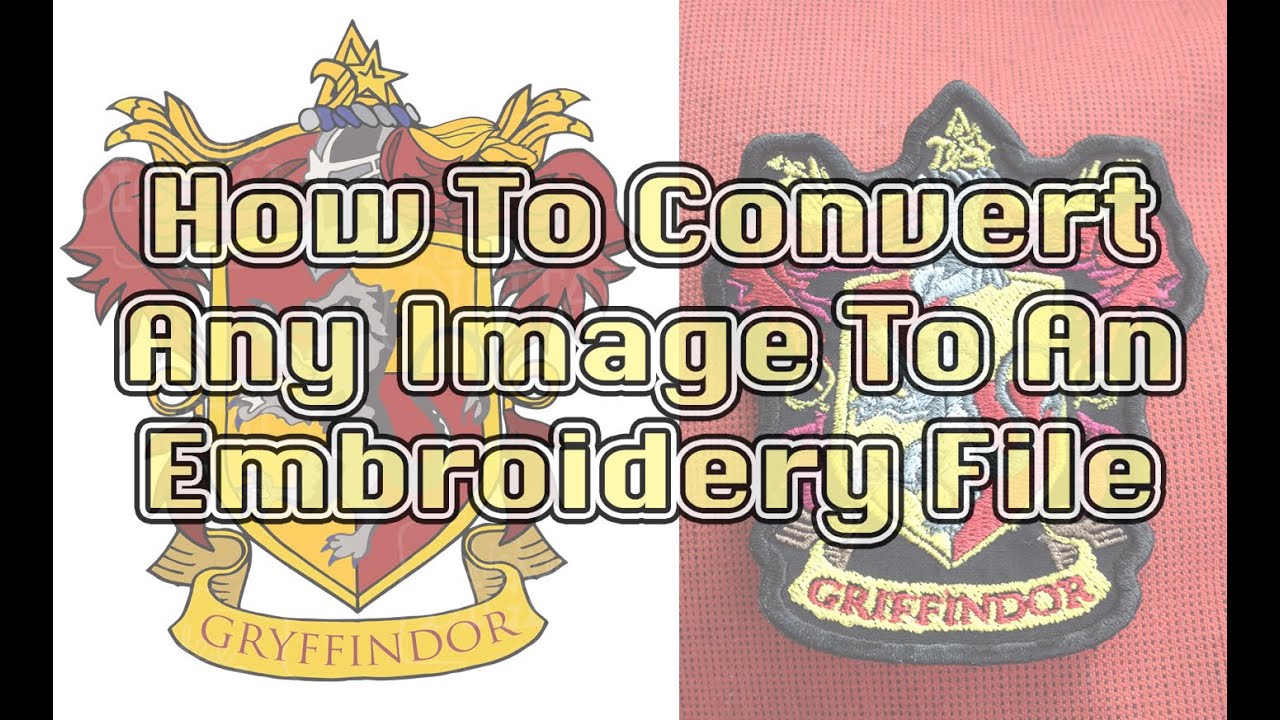
Production and digitizing of embroidery patches can be intimidating if you are new to the embroidery world. Embroidering patches are not particularly different or complicated from regular embroidered jobs. Most embroiderers’ initial uncertainty or reluctance stems from the fact that they have never done a similar project before. Regardless, you must begin at some point, and if that is the case, why not begin as soon as possible?
Embroidered patches are one of the most popular orders among digitizers after they get started. Patches will always be a favourite among resolute embroiderers and buyers due to their distinct crispness and assertiveness. We will go over some of the most common embroidering and digitizing techniques. Because this is a beginner’s guide, we will make things simple, avoiding complicated industry lingo.
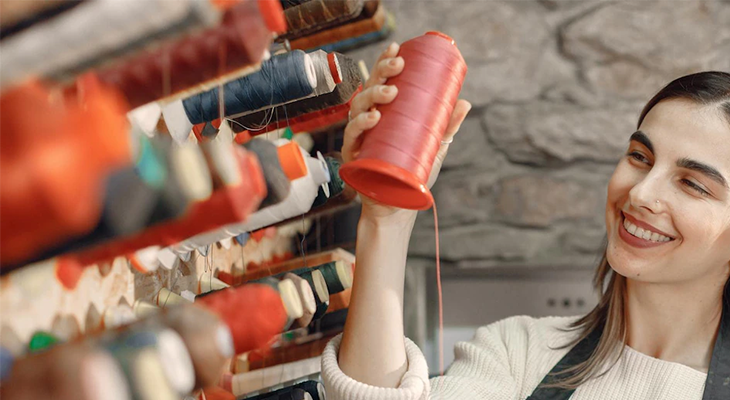
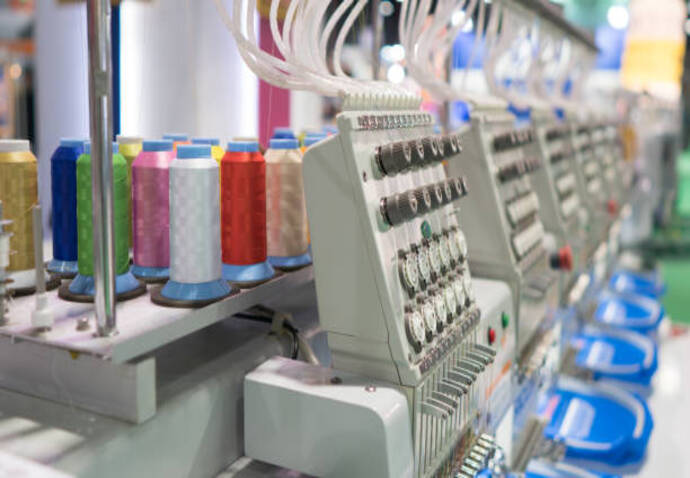
Raw Material Ordering and Selection:
Design or digitize an embroidery patch, you must order plain patches first. These come in a variety of shapes and sizes. Oval, round, square, or custom shapes are sometimes available. A wide range of sizes is also available. Finding patch sizes is an easy decision, whether it is one inch or a full-back.
You should never select bare patches at random. Finding bare patches is easy. Based on your audience’s preferences and the limitations of your embroidery machine, you should make your choice. Depending on the machine you are using, having excessively big or exceedingly small sizes can be a problem.
Regardless of how easy it is to find bare spots; you should never make your choice haphazardly. Based on your target audience’s preferences, as well as your embroidery machine’s capabilities, you should make your decision machine. Depending on the system you are using, exceptionally large or exceedingly small sizes may be a problem.
The colour is the first thing to consider after the size and shape. You can either stick to the Based on your target audience’s preferences, as well as your embroidery machine’s capabilities, you should make your decision plain or heat sensitive. Again, the choice is yours, but we recommend purchasing the plain ones.
Finally, you must choose a merrow colour. Merrow is the thread that runs around the patch’s edge. There is a bulge at the edges. After the threads have been embroidered, they are eventually locked here.
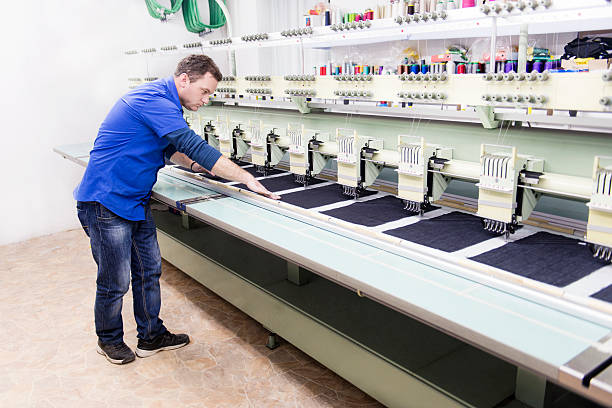
Embroidery Patch Digitization:
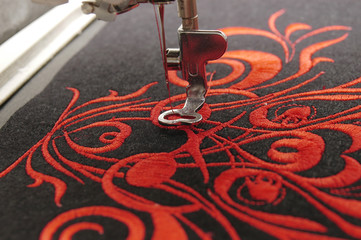
Make a graphical representation of your patch by scanning it. Open it in a digitizing program and make your decision based on both the preferences of your target audience and the capabilities of your embroidery machine. In addition, ensure that the patch is in the centre of the outline and that the design is centred on the patch. Since it always starts and ends at the centre, the design will always start and end there.
Work at a distance from the border when digitizing for embroidered patches. Otherwise, the presser foot will press against it. This will result in distortion during the manufacturing process. Furthermore, when digitizing embroidery patterns, always follow industry best practices.
It is time to put the embroidery design to use when you have finished digitizing it. Make a running stitch around the perimeter of it before applying it. This outline will also begin and end in the middle. The function of this outline is to indicate where the patch should be placed. To make things easier, you can overlap your outline with the design.
Stitch the running stitch outline first while embroidering. Add a halt function here during digitizing. When the outline is embroidered, the machine will come to a halt. Before you apply the design to your blank patch, use the outline to centre it.
Embroidery Patches Attachment:
It is easy to do the first one. A sticky backing or stabilizer will suffice. Stabilizers are an absolute must if you are familiar with needlework manufacturing. This time, however, they are sticky.
One such issue can be the sticking of the stabilizer to the needle. When embroidering multiple patches in a single hoop, this will happen. The result may be frequent thread breaks, which is something you do not want. A drop of machine oil and a clean cloth can be used to clean the needle.
The aerosol solution is the runner-up. Make sure the spray adhesive you are using is designed specifically for machine embroidery. Allow the adhesive to dry on the back of the patch. Put it on the clothing now to check if it sticks. If the adhesive effect is not strong enough, apply a second coat to achieve a secure grip.
It is important to use caution here to avoid putting spray adhesive into the machine’s components. It has the potential to wreak havoc on the machine’s routine operation. As you can see, digitizing embroidery patches and embroidering them is not difficult. All it takes is a little thought and practice to get the size, shape, and nature of the patch exactly right.


No Comments