


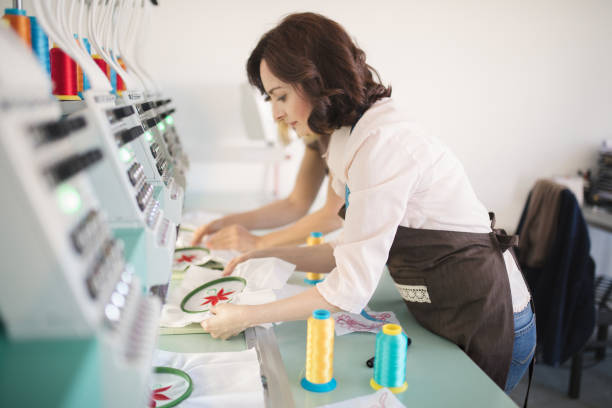
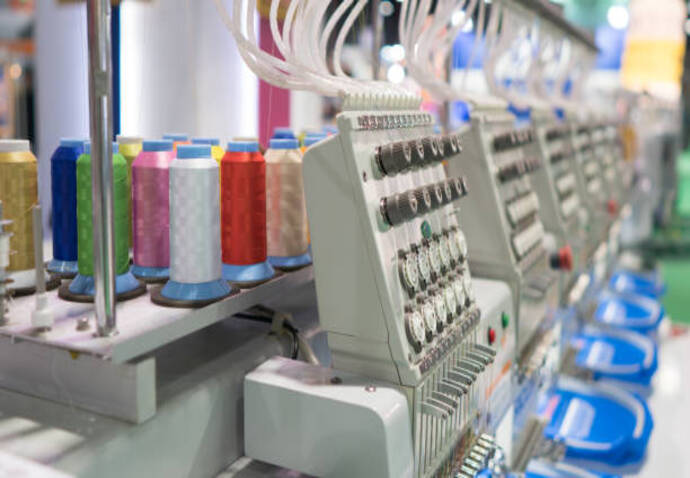
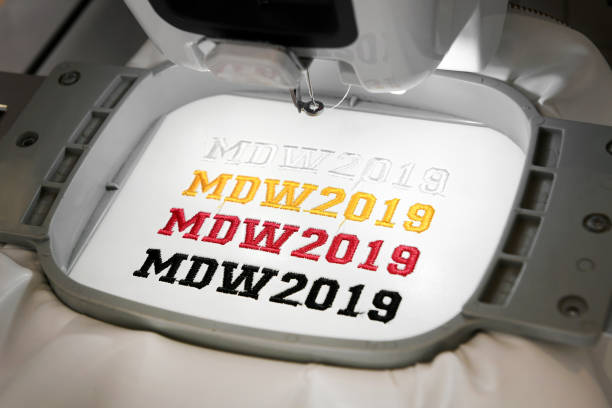
Few people realize, but the embroidery machine has a lot of moving parts that need to be in just the right place for the design to come out correctly. There are many skills you will need to learn before you can digitize a design properly. No problem! This article will show you what those skills are and how you can easily get started digitizing your own designs for embroidery machines.
Section One, what is Digitizing?
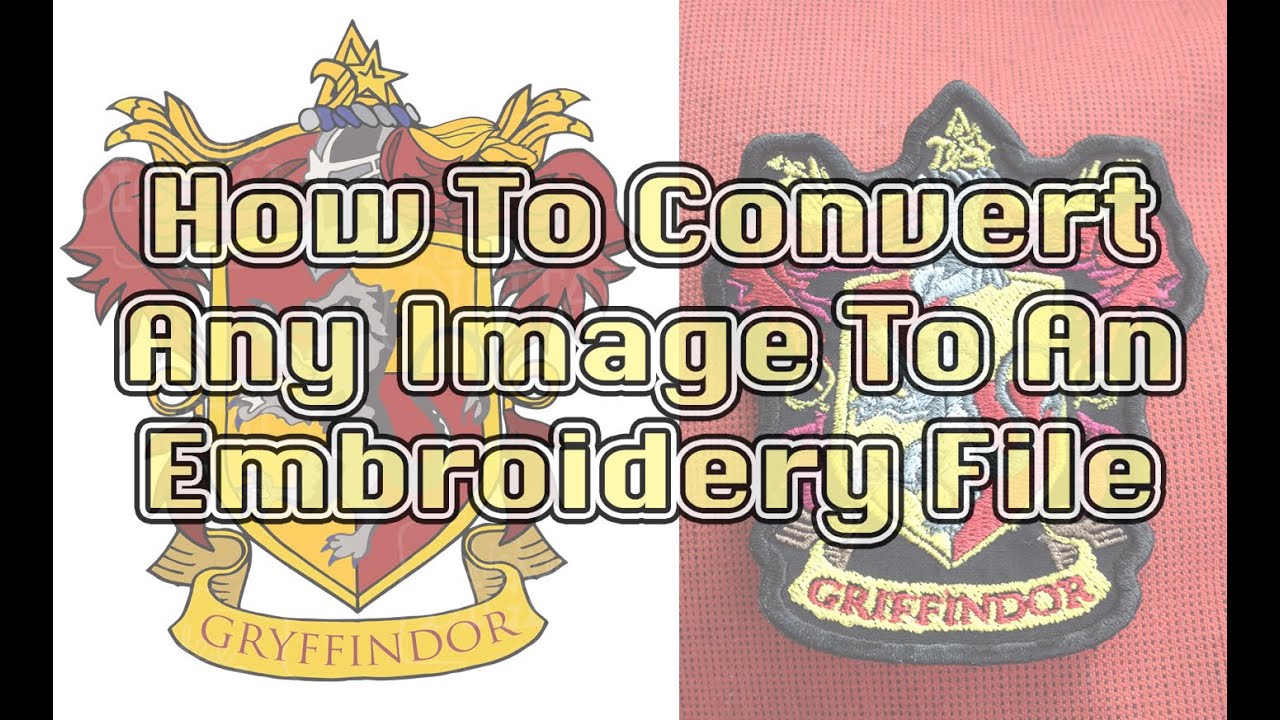
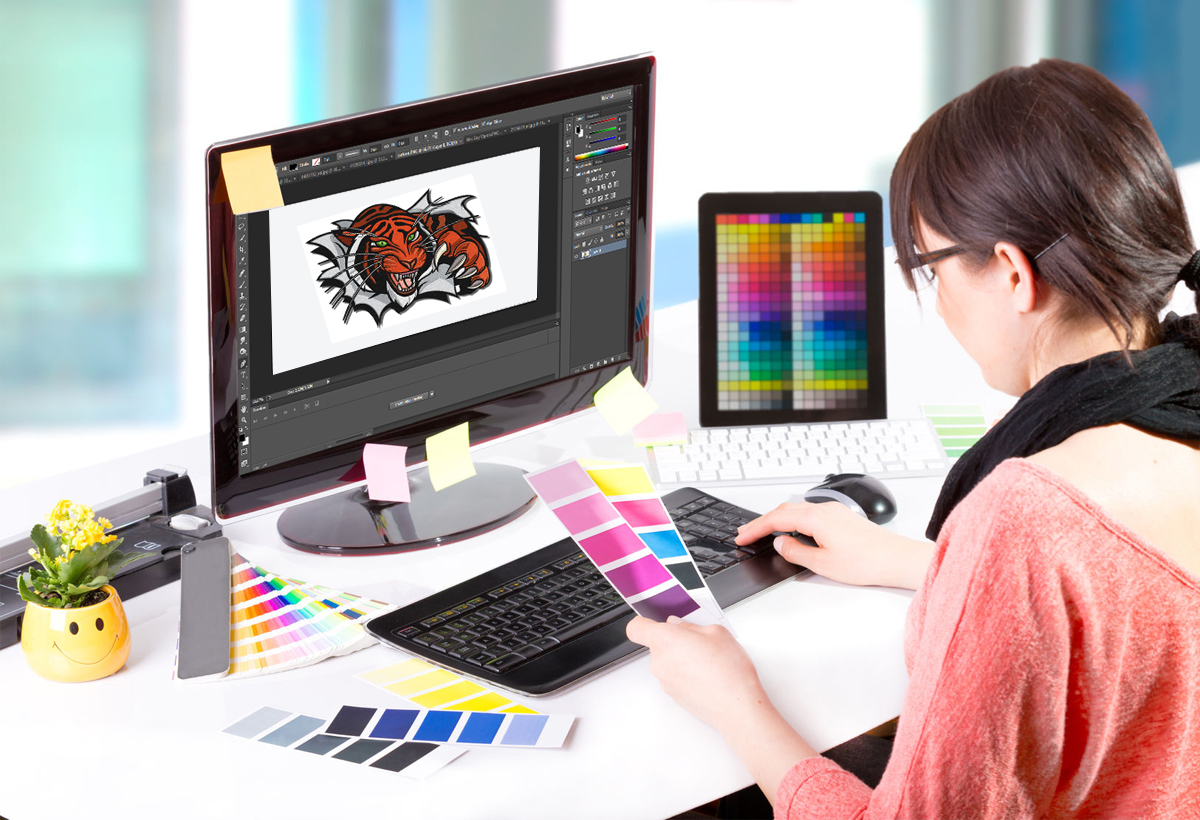
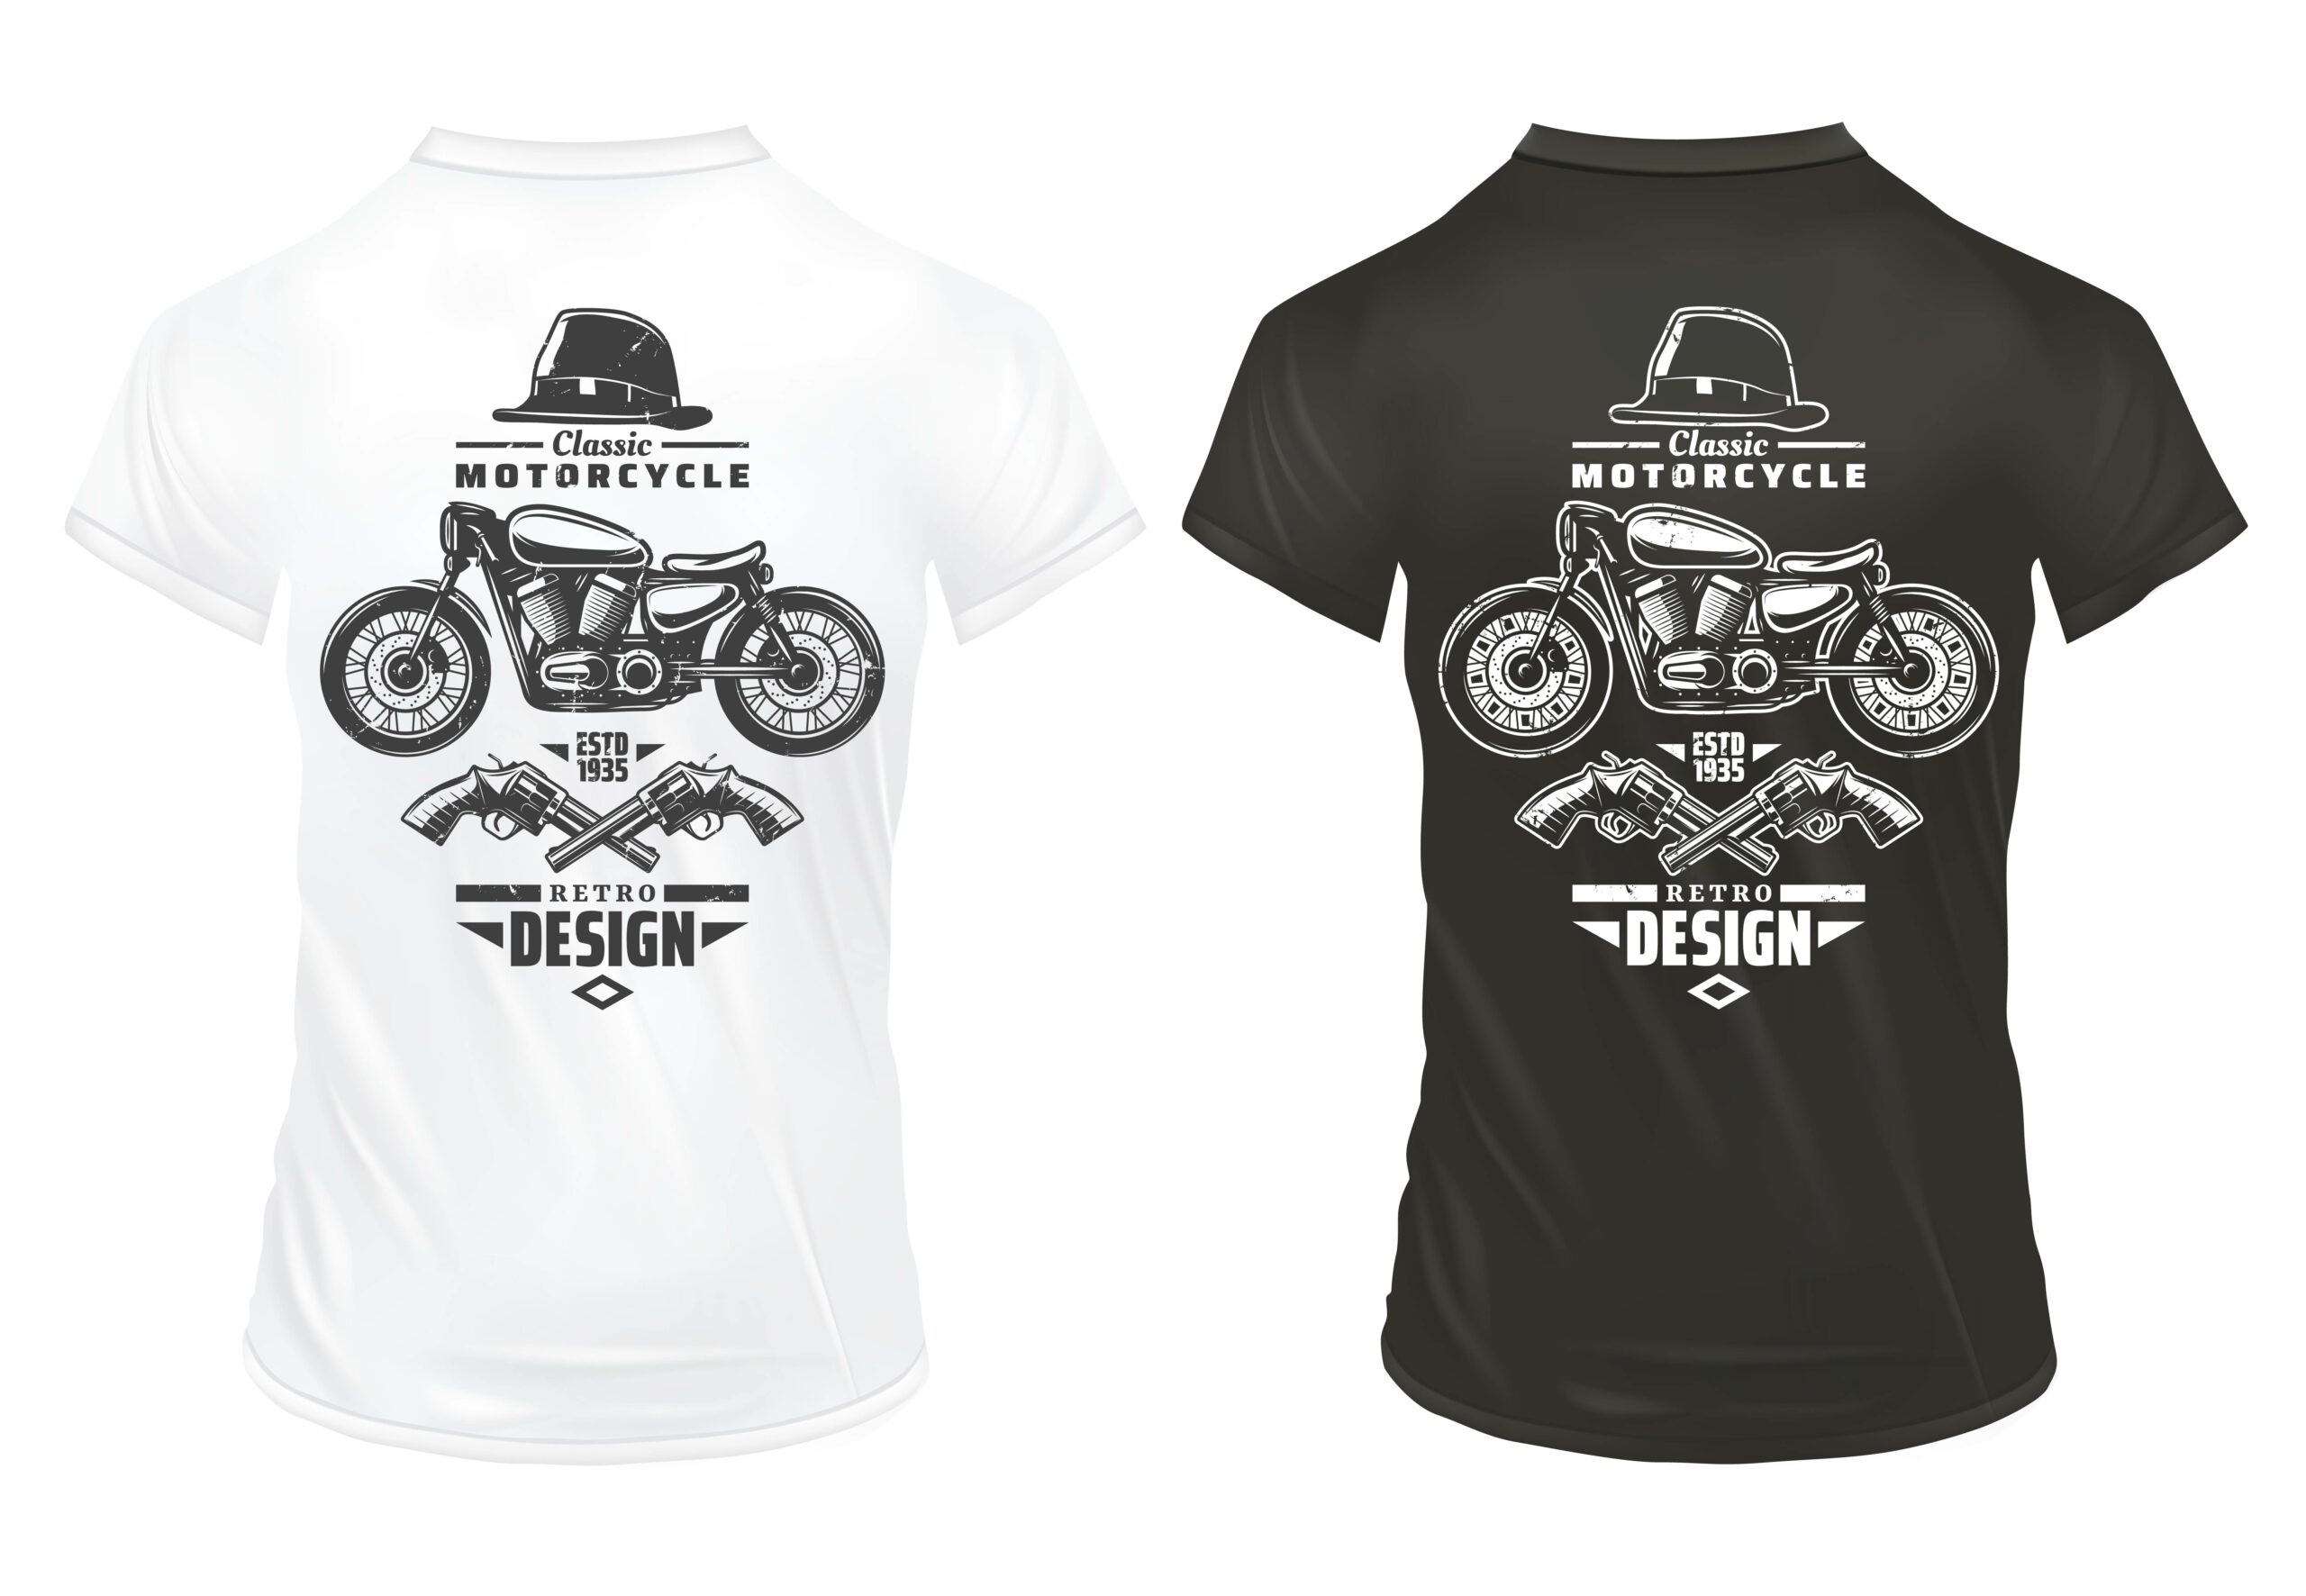
Embroidery Digitizing is the process of converting a design or image into a digital format that can be read by an embroidery machine. This allows you to take any design, whether it’s a company logo, a family crest, or a simple pattern, and stitch it onto fabric.
There are two main types of digitizing: manual and automatic. Manual digitizing is where the digitizer hand-draws the design onto the software. This is a very precise and time-consuming method, but it gives the digitizer complete control over the final product. Automatic digitizing is where the software creates a stitch file from an existing image. This is faster and less expensive, but it can sometimes result in poorer quality stitches.
To get started, you’ll need some basic supplies:
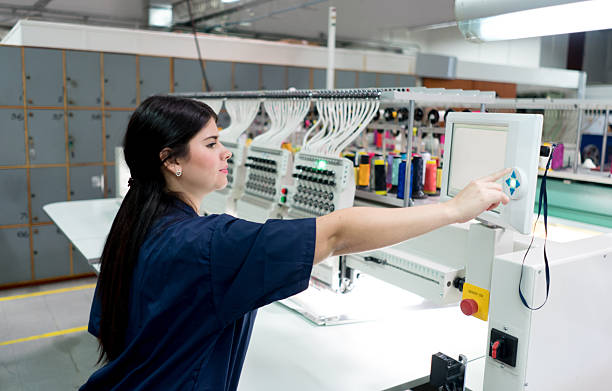
-An embroidery machines
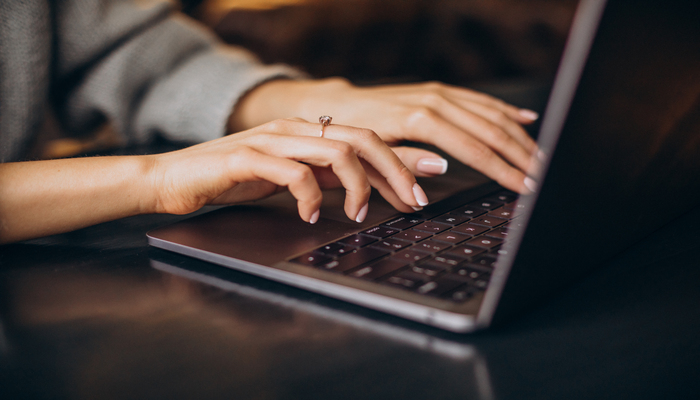
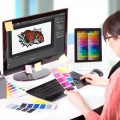
-A computer with embroidery digitizing software
-A scanner or digital camera (if you’re working with a physical design)
-An embroidery hoops
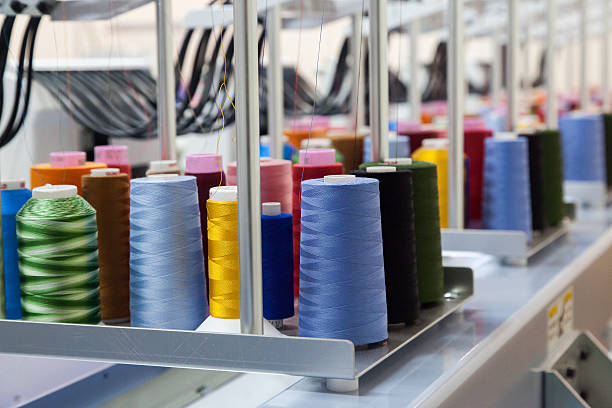
-Thread
-Fabric
Once you have your supplies, you’re ready to start digitizing!
Section Two, What to Consider When Digitizing
Assuming you have a design in mind that you want to digitize for embroidery, there are a few key factors you need to consider before starting the process. This blog section will outline what you need to think about before starting to digitize a design for embroidery.
Size: How large or small do you want your final design to be? This will help determine the stitch count and therefore the overall quality of your embroidered design. If you want a very large or very small design, it may be best to outsource the digitizing to someone with experience.
Complexity: How complex is your design? If it is very detailed or has multiple colors, it will be more difficult (and therefore more expensive) to digitize. Again, if your design is complex, it may be best to outsource the job.
Personalization: Do you want to add any personalization to your design? This could include names, dates, or other text. If so, you’ll need to make sure that your digitizing software can handle this type of customization.
Section Three, How to Format Your Files to Transfer to a File Embroidery Machine
When you have your design ready to go, the next step is to format the file to be compatible with your embroidery machine. Every machine is different, so it’s important to consult your machine’s manual or the company’s website to see what file formats are accepted. In general, though, most machines use either DST or EXP files.
Once you know what file format you need, there are a few different ways to get your design into that format. If you’re using commercially available software like Wilcom or Embird, they will likely have an export function that will save your design in the correct format. If you’re using a free program like Inkscape, you can usually find a plugin or extension that will do the same thing.
Once you have your file saved in the correct format, the next step is to transfer it to your embroidery machine. This is usually done via USB drive, although some machines may also have Wi-Fi capabilities or an SD card slot. Consult your machine’s manual for specific instructions on how to do this.
Section Four, How to Trace Designs Using for Inspiration
If you’re anything like me, you’re always on the lookout for new design inspiration. And what better way to find it than to trace designs that you see in everyday life? With a little bit of practice, you can easily digitize these designs for use with your embroidery machine. Here’s how:
- Find a design that you like. It can be anything from a flower to a geometric shape.
- Place a piece of tracing paper over the design.
- Use a pencil or other sharp object to trace the outline of the design onto the tracing paper.
- Scan the tracing paper into your computer and save the file as a .jpg or .png image.
- Open the image in your preferred embroidery software program and trace the design using the software’s vector tools.
- Save the file and send it to your embroidery machine to be stitched out!
Conclusion
In conclusion, digitizing designs for embroidery machines is not as difficult as it may seem at first. With a little bit of practice and some trial and error, you will be able to create beautiful embroidery designs that can be used on a variety of garments and other items. If you are interested in learning how to digitize designs for embroidery machines, we suggest taking an online course or two so that you can get the hang of the process before trying it out on your own.
If this article won’t work out. Try embroidery digitizing services in usa to digitize the design for your machine embroidery. We at BitsnPixs have skilled digitizers who can be able to digitize any design that you want. Try our service once you won’t get disappointed by choosing us.


No Comments